


What is the grit of sandpaper? How to choose the grit
Aug 24, 2024
Leave a message
Introduction to sandpaper grit
In principle, sandpaper grit is the same tool as a file, a cutting tool. If we observe under a microscope, we can see that the surface of the sandpaper grit is the same as the surface of the file, with sharp particles, which are fixed to the base paper with glue. With each slide of the sandpaper grit on the surface of the object, these hard particles will cut some material from the surface of the object. This is a microscopic and efficient cutting process.
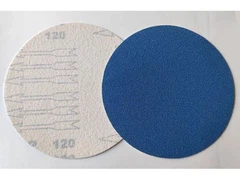
Although the common sandpaper grit ranges from 12 mesh to 20,000 mesh, it should be noted that the cutting characteristics of the sandpaper itself will not change with the increase of grit and the decrease of particle size. It will still cut the material from the surface of the object without changing its properties.
Why emphasize the phrase "do not change the properties of the material"? Many people who work on seamless projects may find that no matter how high the grit of sandpaper used when processing the seams is, they can still vaguely see the difference between the seam area and other areas, or they may find that the whitened part after cutting the gate cannot be completely removed no matter how much sanding is done. The reason is simple: the properties of the plastic are changed by the solvent used for the joint or the pull of the tool, and this change cannot be achieved by cutting unless the cutting depth completely removes the modified material. Of course, improper tool pull may cause the surface to turn white 1-2 mm below the surface, in which case the required amount of cutting can be imagined.
In summary, the role of sandpaper grains is to change the surface shape of the object through cutting. This change in shape may make the plane flatter or remove unnecessary protrusions on the surface, but the sandpaper grains cannot change the characteristics of the object.
Introduction to sandpaper grit numbers
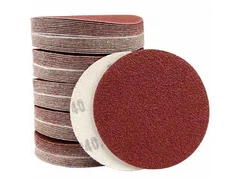
How to use sandpaper grit? Use finer grit from coarse to fine. Generally speaking, for larger cutting amounts, use 100-200 grit sandpaper, so that you can cut nearly 1 mm deep directly on the model surface in a few seconds.
After using 100-grit sandpaper, you should use 150-grit sandpaper instead of 200-grit sandpaper for the next polishing. After using 150-grit sandpaper, you will face a dilemma: should you use 200-grit or 250-grit? The grit of sandpaper is an approximate value, just like the aperture of a camera.
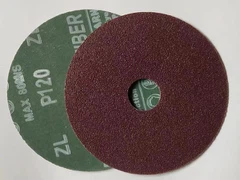
There is indeed 220-grit sandpaper, but we mention 200-grit sandpaper just to make it more convenient and memorable. The correct grit of sandpaper is 220 (P220) and 240 (P240). Which one should I choose between 220 and 240? The approximate rule applies, so choose 220. Note that the grit of sandpaper is cut, and the larger the grit, the smaller the cutting force. If the grit is too different, it will not be possible to eliminate the marks left by the last sandpaper.
For real model making, it is enough to start with 220 or 300-grit sandpaper. After all, the model parts are relatively delicate and there is no need to cut from scratch. When using a file, we often find that the gaps between the file teeth are filled with debris. This phenomenon is called clogging. Generally, we need to use a copper wire brush to remove the debris between the teeth of the file, otherwise, this debris will change the grain size of the file and may scratch the surface of the part together with the small fragments produced during filing.
When using sandpaper with a thickness of more than 800 months, it must be flushed with water, otherwise the accumulated debris between the sandpaper and the part will seriously wear the smooth surface. Once the sandpaper with a thickness of 2000 months turns white after being used several times, it is thrown away directly, and there is no value in using it again. Many people may think this is a waste, but this is the role of sandpaper. Sandpaper without cutting force is no different from waste paper.
Send Inquiry